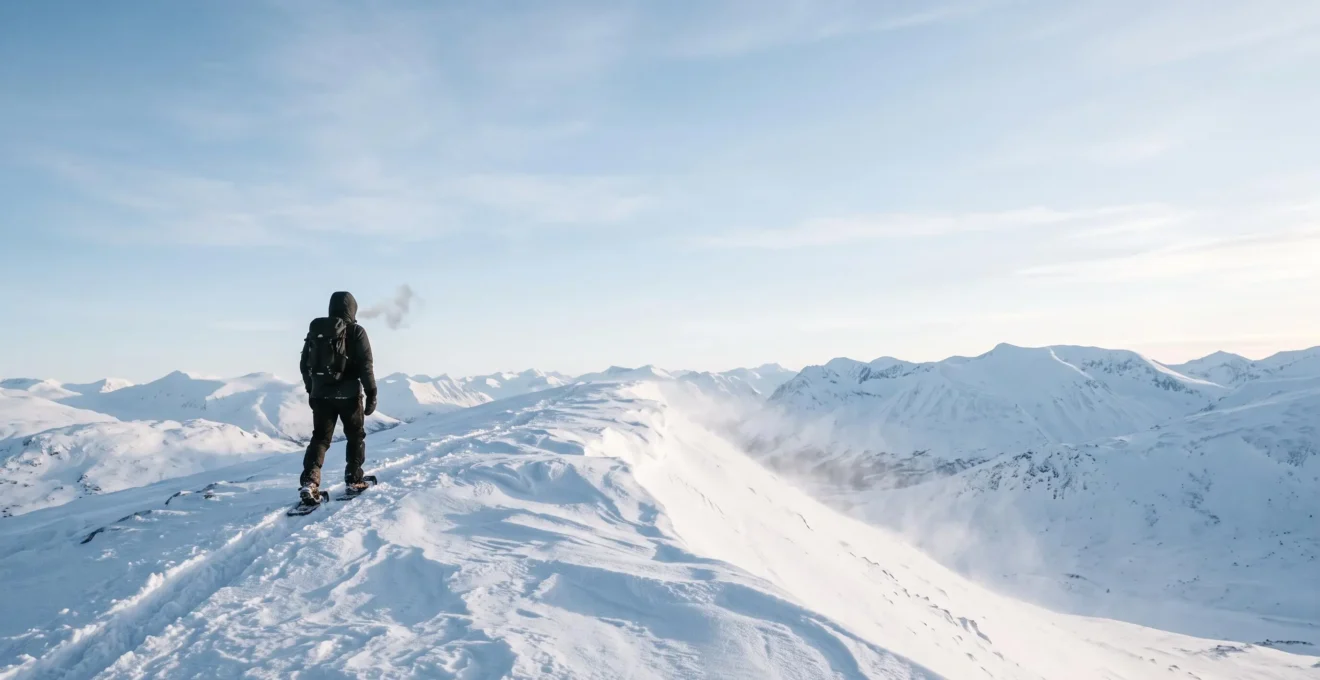
Contrary to popular belief, safe sub-zero snowshoeing isn’t about following a simple checklist of « what » to pack. True survival depends on mastering the « why »—understanding the physics of cold, anticipating how standard gear catastrophically fails, and recognizing the irreversible chain reaction that turns a minor slip-up into a life-threatening emergency. This guide shifts the focus from generic tips to the expedition-grade mindset needed to manage the severe, compounding risks of extreme cold.
The image of a silent, snow-covered landscape under a brilliant winter sun is a powerful allure. For hikers, snowshoeing offers a way to continue exploring these wild places when the trails disappear under a blanket of white. The common advice is well-known: wear layers, check the weather, stay hydrated. While this guidance is not wrong, for sub-zero expeditions, it is dangerously incomplete. It treats the symptoms of cold, not the root cause of winter emergencies.
In the unforgiving environment of extreme cold, small mistakes don’t just happen; they compound. A slightly damp sock isn’t an inconvenience; it’s the first step toward frostbite. A simple twisted ankle isn’t just painful; it’s the trigger for a rapid, fatal plunge into hypothermia. The fundamental error in most winter safety advice is its failure to address the concept of catastrophic failure—not just of gear, but of the human system itself.
The key to survival isn’t a longer checklist, but a deeper understanding. It’s about shifting your perspective from a hiker enjoying a winter day to an operator managing a complex system in a hostile environment. This guide is built on that principle. We won’t just tell you what to do; we will explain the physics of why your gear will fail, how your body loses its battle with the cold, and the critical decisions that separate a memorable adventure from a mountain rescue statistic.
This article is structured to build your expedition mindset, moving from foundational gear failures to environmental threats and emergency responses. Each section addresses a critical question, providing the expert framework you need to make life-saving decisions when the temperature plummets.
Table of Contents: How to Survive Snowshoeing in Sub-Zero Temperatures
- Why Do Autumn Hiking Boots Fail Catastrophically on Winter Snowshoe Trips?
- How to Keep Water Liquid During 6-Hour Snowshoe Trips in -10°C Weather?
- Microspikes vs Snowshoes: Which Winter Traction Device for Variable Snow Conditions?
- The Winter Snowshoeing Error That Turns a Twisted Ankle into a Life-Threatening Emergency
- When Do Wind Chill Values Make Snowshoeing Too Dangerous to Attempt?
- When Does Snowshoeing Require Avalanche Safety Gear and Training?
- Down vs Synthetic Sleeping Bags: Which Insulation for Damp British Camping?
- How to Start Snowshoeing as a Winter Alternative to Hiking?
Why Do Autumn Hiking Boots Fail Catastrophically on Winter Snowshoe Trips?
The single most common point of failure for winter novices is footwear. A standard three-season hiking boot, even if « waterproof, » is engineered for a completely different set of physical stresses. In sub-zero temperatures, the rubber compounds in their soles become stiff and brittle. A normal flex while walking can cause the sole to crack, destroying the boot’s integrity and exposing you to the elements. This isn’t a gradual wear-and-tear; it’s an abrupt, catastrophic failure.
Furthermore, these boots lack the necessary insulation. When strapped into a snowshoe, your foot is in direct, prolonged contact with snow. The boot’s sole acts as a thermal bridge, conducting heat directly away from your body—a process called conduction. Without a thick, insulated winter-rated sole, it’s like standing barefoot on ice. The « waterproofing » also fails. The constant pressure and flexion against snow and ice force moisture through membranes not designed for such conditions, leading to wet feet, the precursor to frostbite. Your boots are your primary interface with the cold; if they fail, your entire safety system is compromised.
Action Plan: Winter Footwear Integrity Check
- Assess Insulation Rating: Verify your boots have a temperature rating (e.g., -20°C / -4°F or lower) and feature thick, integrated insulation like Thinsulate or a removable felt liner. Three-season boots have no such rating.
- Check Sole Compound: Look for boots specifically designated as « winter » or « pac » boots. Their rubber is formulated to remain flexible in deep cold, preventing cracking. A stiff, unyielding sole in cold weather is a major red flag.
- Verify System Waterproofing: Your system isn’t just the boot. It must include tall, robust gaiters that completely seal the junction between your pants and boots. This is your defense against snow entering from the top.
- Test the Ankle Support: A winter boot must be rigid enough to provide ankle support when strapped into a snowshoe. A flimsy ankle on a three-season boot can lead to twists and sprains on uneven terrain.
- Implement a Moisture Barrier: For multi-day or extreme trips, consider a vapor barrier liner (VBL) sock. It keeps your boot insulation dry from internal sweat, preventing it from freezing overnight and rendering your boots useless.
How to Keep Water Liquid During 6-Hour Snowshoe Trips in -10°C Weather?
Dehydration is a sneaky and significant threat in the cold. Your body uses moisture to warm and humidify the cold, dry air you inhale, leading to rapid fluid loss through respiration. However, the primary challenge is simply keeping your water from turning into a useless block of ice. A standard Nalgene or water bladder is a guaranteed failure in sub-zero conditions. The water will freeze, starting from the outside in and at the threads of the cap.
The solution requires understanding the physics of freezing and employing a multi-layered strategy. First, start with hot water. Filling your bottle with hot (not boiling) water in the morning gives you a thermal head start, delaying the freezing process for hours. Second, insulation is non-negotiable. A simple foam sleeve for your water bottle can dramatically slow heat loss. For hydration bladder hoses, an insulated tube sleeve is mandatory to prevent the narrow tube from freezing instantly, which is the most common failure point.
Another crucial expedition trick is to store your water bottle upside down inside your pack. Since ice forms from the top down, this ensures that the ice block forms at the bottom of the bottle, leaving the threads and cap area ice-free and allowing you to drink. For those using wide-mouth bottles, this is particularly effective. The ultimate solution, trusted on polar expeditions, is to carry the bulk of your water in a high-quality, wide-mouth stainless steel thermos. It keeps liquids hot for hours, providing not just hydration but a vital source of warmth to help manage your core temperature.
Microspikes vs Snowshoes: Which Winter Traction Device for Variable Snow Conditions?
Choosing the wrong traction is not an inconvenience; it’s a critical safety error that can lead to exhaustion or a dangerous fall. Microspikes and snowshoes are not interchangeable; they are specialized tools for entirely different conditions, and the real challenge lies in knowing when to transition between them. Microspikes are for traction, while snowshoes are for flotation.
Microspikes are essentially chains with small spikes that you pull over your boots. They are brilliant for packed snow, icy trails, or shallow, crusty snow where your primary risk is slipping. They offer superb grip without unnecessary bulk. Their weakness? Deep, unconsolidated snow. In powder, they offer no flotation, and you will « posthole »—sinking with every step—which is incredibly exhausting and a fast track to energy depletion.
Snowshoes, on the other hand, are designed to distribute your weight over a large surface area, allowing you to float on top of deep snow. This saves an immense amount of energy. Modern snowshoes also have built-in crampons for grip, but they can be clumsy and inefficient on hard-packed, icy trails. The true expert knows that many routes involve variable conditions: a forested trail with deep powder might lead to a wind-scoured, icy ridge. The decision to carry both, and knowing precisely when to switch, is a hallmark of an experienced winter traveler. Being caught in deep snow with only microspikes is a recipe for exhaustion and a potential survival situation.
The Winter Snowshoeing Error That Turns a Twisted Ankle into a Life-Threatening Emergency
In summer, a twisted ankle is a painful inconvenience that usually means a slow limp back to the car. In sub-zero temperatures, it is the trigger for what I call the Inevitability Cascade. The true emergency is not the injury itself; it’s the immobility that follows. Once you stop moving, you stop generating metabolic heat. Your body becomes a static object losing warmth to the frigid environment, and the clock starts ticking with terrifying speed. In extremely cold air, medical sources note that hypothermia can set in within about 10 minutes at -34.4°C (-30°F).
The catastrophic error is focusing on the ankle injury instead of the immediate, overwhelming threat of hypothermia. Your first action—within seconds of the incident—must be to insulate the injured person from the ground. Slide a foam pad, a backpack, and any available gear underneath them. The snow is a massive heat sink that will drain their body heat through conduction. Only after they are insulated should you assess the injury. This immediate response breaks the first link in the cascade.
The second step is to add insulation on top: throw a puffy jacket or an emergency bivvy over them, even before they say they feel cold. Shivering is a sign the body is already fighting a losing battle. By the time someone stops shivering, they are in severe hypothermia. You must also watch for the early signs of frostbite, which the Centers for Disease Control and Prevention (CDC) warns is characterized by a loss of feeling and color in the areas it affects, such as the nose, ears, cheeks, fingers, or toes. Reacting to immobility as the primary emergency, not the incidental injury, is the mindset that saves lives in the cold.
When Do Wind Chill Values Make Snowshoeing Too Dangerous to Attempt?
Wind chill is one of the most misunderstood and underestimated dangers in winter. It is not just a « feels like » temperature; it is a quantitative measure of the rate of heat loss from exposed skin. Your body warms a thin layer of air right next to your skin, called a boundary layer, which acts as insulation. Wind strips this layer away, forcing your body to constantly expend energy to reheat a new one. The higher the wind speed, the faster the heat is stolen.
This accelerated heat loss dramatically shortens the time it takes for frostbite to occur. While you might be safe for an hour in calm -10°C air, a moderate wind can create a wind chill that drops the frostbite risk time to mere minutes. It is crucial to consult not just the ambient temperature but the wind chill forecast. For an expedition guide, the wind chill chart is not a suggestion; it is a hard-line risk matrix. For instance, at a -30°F wind chill the exposure window narrows to roughly 10 minutes for exposed skin to freeze. Below -50°F, it’s under 5 minutes.
The following table, based on data from the U.S. National Weather Service, should be treated as a set of absolute go/no-go limits. Attempting to snowshoe in conditions where frostbite can occur in 10 minutes or less is taking a foolish and unjustifiable risk, as even a minor problem like adjusting gear can lead to severe injury.
| Wind Chill Range | Approximate Time to Frostbite |
|---|---|
| 0°F to -15°F (-18°C to -26°C) | 30 minutes |
| -16°F to -34°F (-27°C to -37°C) | 10 minutes |
| Below -35°F (below -37°C) | 5 minutes or less |
When Does Snowshoeing Require Avalanche Safety Gear and Training?
There is a dangerous misconception among many winter recreationists that avalanches are a risk exclusive to backcountry skiers and mountaineers. This could not be further from the truth. As Associate Professor Pascal Haegeli, a leading avalanche researcher, states, « As soon as you walk into snowy mountainous terrain, you’re potentially exposing yourself to the risk of avalanches. » The simple act of stepping off a flat trail and onto a snow-covered slope means you have entered potential avalanche terrain.
The Snowshoer’s Blind Spot: An SFU Study
This dangerous gap in awareness was highlighted by Simon Fraser University researchers. In a survey of over 500 snowshoers at a popular trailhead, they found that nearly half were either completely unaware of the avalanche risk on their planned route or were not concerned about it. This reveals a critical blind spot in the community, where the perceived safety of the activity leads to a failure to assess the very real environmental hazards.
The trigger for requiring avalanche safety gear (a transceiver, shovel, and probe) and, more importantly, professional training (like an AIARE 1 course) is not the activity you are doing, but the terrain you are in. If your route crosses, travels under, or moves onto any slope steeper than about 25-30 degrees, you are in avalanche terrain. It does not matter if you are on skis, a snowboard, or snowshoes. In fact, according to the Utah Avalanche Center, in 90% of avalanche incidents, the slide is triggered by the victim or someone in their party. Your presence on the slope is often the only trigger needed. Therefore, the moment your planned route involves anything other than flat or gently rolling terrain, the question is no longer *if* you need the gear and training, but that you absolutely *do*.
Down vs Synthetic Sleeping Bags: Which Insulation for Damp British Camping?
While the question specifies « Damp British Camping, » the underlying principle is a universal law of winter survival, whether you’re in the Cairngorms or the Rockies: moisture management is paramount. The choice between down and synthetic insulation is a masterclass in this principle. Down insulation, made from the fine plumage of ducks or geese, offers unparalleled warmth for its weight and is highly compressible. In dry, cold conditions, it is the superior insulator.
Its fatal flaw, however, is its performance when wet. When traditional down feathers become saturated with moisture—either from external dampness or internal condensation from your own body—they clump together, losing all their loft. Loft is what traps air, and trapped air is what keeps you warm. Without it, the insulation is useless. In fact, a saturated traditional down layer can lose up to 90% of its insulating value. In a damp, cold environment, a wet down bag is not just uncomfortable; it is a potentially fatal piece of equipment.
Synthetic insulation, conversely, is made of plastic filaments that do not absorb water. While generally heavier, bulkier, and less durable over the long term than down, its key advantage is that it retains a significant portion of its insulating value even when damp. It also dries much faster. The following table breaks down the critical trade-offs:
| Criterion | Down | Synthetic |
|---|---|---|
| Warmth-to-weight | Superior, especially at high fill power | Lower, requires more bulk for equal warmth |
| Performance when wet | Collapses and loses loft unless treated | Retains most loft and warmth when damp |
| Dry time | Slow, can take a long time | Faster drying than down |
| Long-term durability/compression resistance | Excellent over years of use | Loft degrades faster with repeated compression |
| Best suited use case | Planned trips with good moisture management | Unplanned, damp, or high-humidity conditions |
Key Takeaways
- Your standard gear will fail in extreme cold; your safety system must anticipate and mitigate these specific failure points, especially in footwear.
- Immobility is the true winter emergency. Any incident that stops you from moving triggers a rapid, life-threatening cascade into hypothermia that must be broken within seconds.
- Moisture is the enemy of warmth. Managing it—both internal sweat and external dampness—is more critical than managing the ambient temperature itself.
How to Start Snowshoeing as a Winter Alternative to Hiking?
To truly begin snowshoeing is not to simply buy a pair of snowshoes and head for the nearest snow-covered trail. That is merely winter walking. To start snowshoeing from a survival perspective is to make a conscious shift in mindset. It’s about committing to a deeper level of respect for the winter environment and understanding that you are no longer a casual visitor, but an operator in a place where the laws of physics are unforgiving.
Starting means internalizing the lessons of catastrophic failure. It means looking at your boots not as footwear, but as the primary defense against conductive heat loss. It means understanding that your water bottle is a science experiment in thermodynamics and that your jacket’s insulation has a critical weakness to moisture. It means accepting that a simple slip can initiate a fatal sequence of events unless you have a pre-drilled, immediate response that prioritizes insulation over injury.
The real starting point is education. Before your first major trip, you must learn to read a wind chill chart as a set of hard limits, not suggestions. You must learn to identify avalanche terrain on a map and on the ground, and accept that once you step onto it, you are subject to its rules. The first step isn’t on the snow; it’s in a classroom for an avalanche awareness course or a winter survival workshop. Starting snowshoeing is easy, but starting it safely and sustainably requires you to abandon the casual mindset of a three-season hiker and adopt the disciplined, knowledge-based approach of a polar explorer.
Your journey into the winter landscape begins not with a step, but with a commitment to preparation. Begin today by assessing your gear not by its brand, but by its physical limitations in the cold, and seek out the training that will turn your fear of the unknown into a healthy, life-saving respect for the environment.